
Hey friends!
This is the final part to our 5 part series: Drawing a Children’s Book Illustration From Beginning to End. In case you haven’t kept up with the series, you can still go back and find the first post here, second post here, third post here and fourth post here.
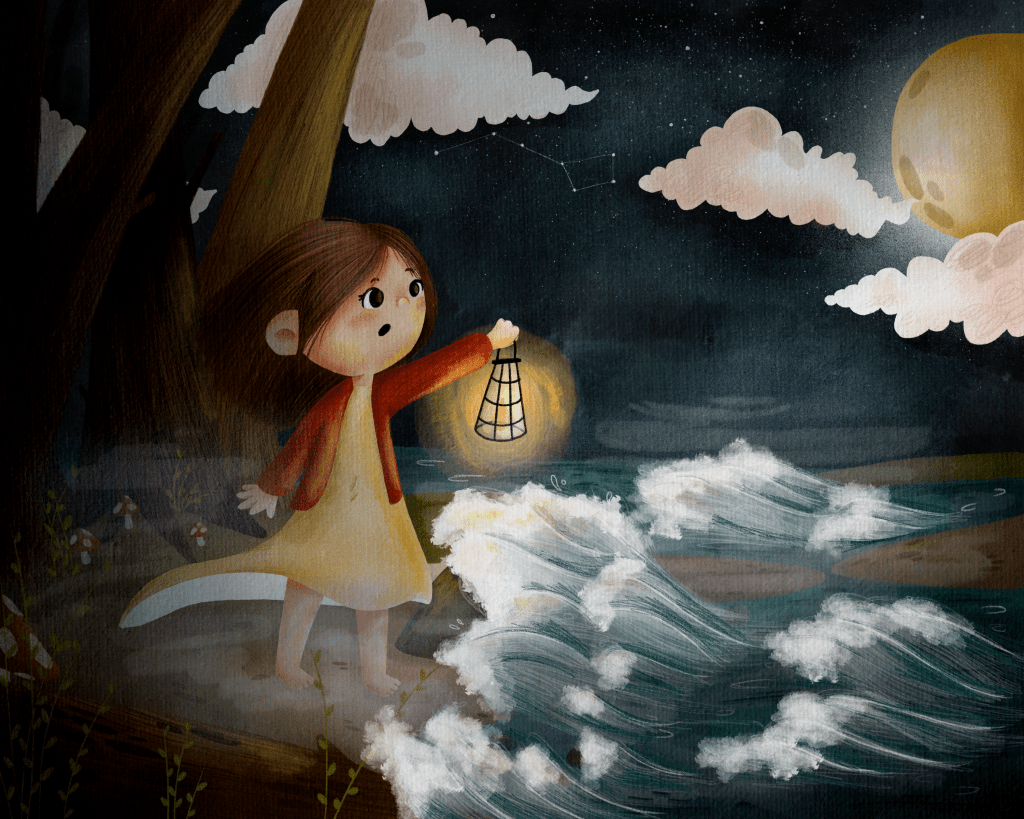
The fifth and final step to creating an illustration is bringing it to life with color.
Quick note before I dive into showing you how to colorize your illustration: I use an online platform called Procreate to digitally paint my illustrations. You don’t have to use Procreate in order to follow this coloring process, but if you would like to know more about it and how to use it, you can check out this blog post.
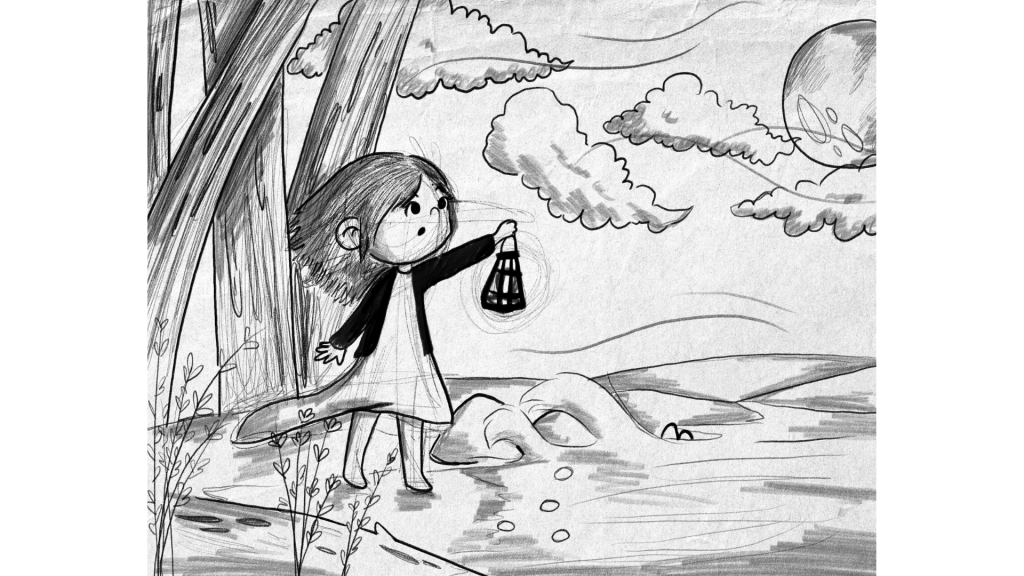
Now let’s look back at our sketch. This is going to be what we color over. this is our base for everything.
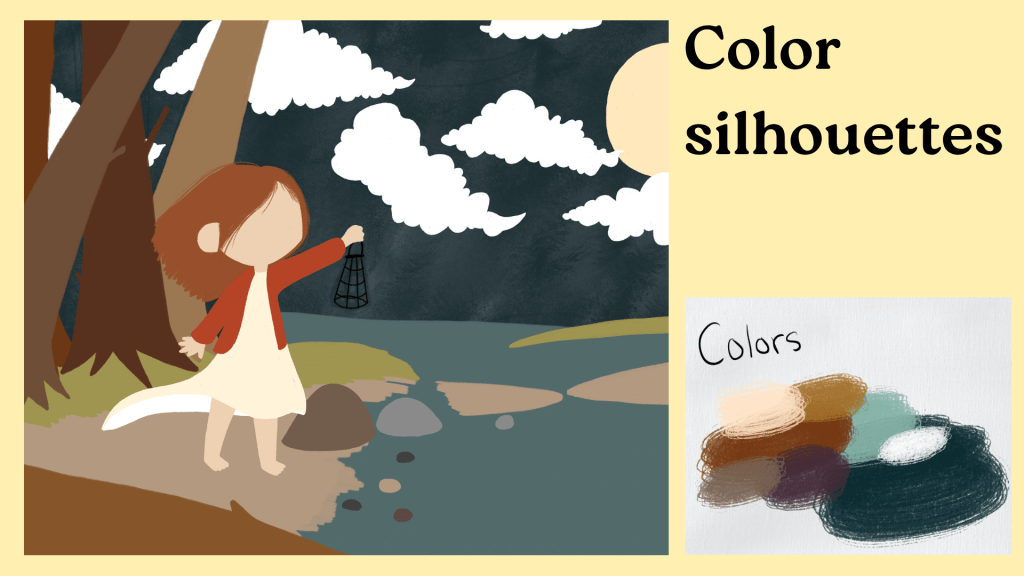
My very first step to coloring my illustration is COLOR SILHOUETTES. This is just blocking in the very basic colors.
The colors that we fill in are going to be what we build off of later to make our sketch full and beautiful with detail and shading.
At this part we are going to constantly refer to our color pallet that we made to make sure we are capturing the mood right.
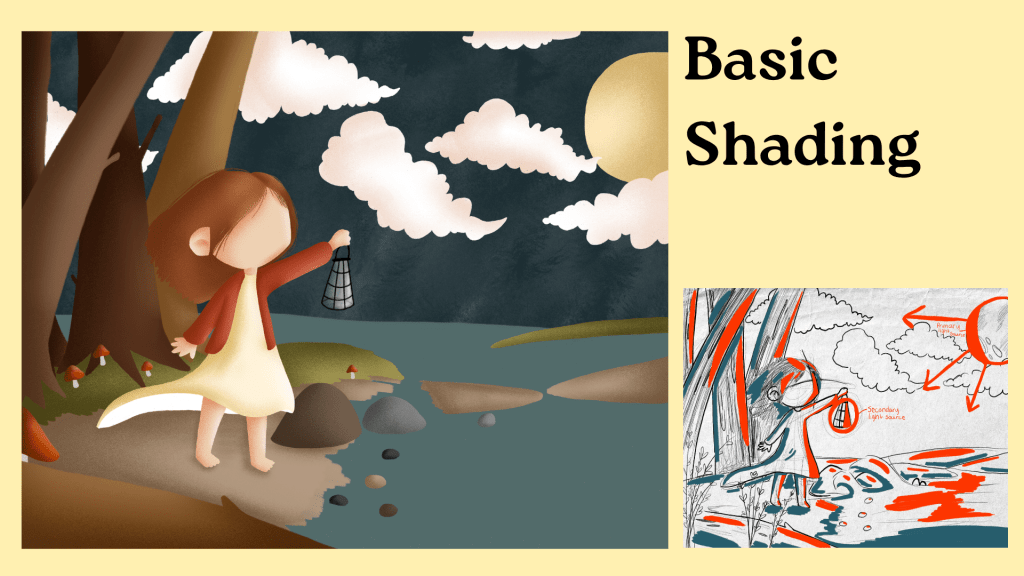
After this, we are going to add the BASIC SHADING.
This is definitely not going to be the only kind of shading that we are going to do but it’s giving us a base for more detailed shading later.
At this stage, We are going to be referring a lot to the shading guide we made earlier.
After completing these couple basic steps, we get to have fun with the details! I have put together a speed paint for you to watch as I add in all of the details. Enjoy!
And with those 5 steps, we have our final product! I hope that you enjoyed following along in this series.
As always, please feel free to drop any comments or questions below!
~Eliyah

Leave a comment